To proceed with the fitting up:
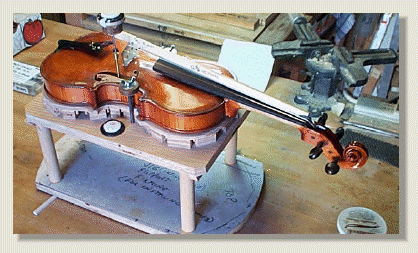
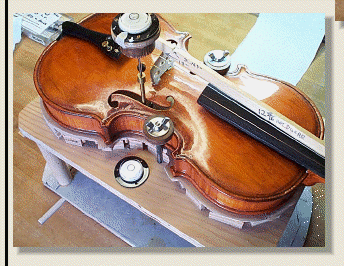
I have clamped the body on a padded and level fixture (dished inside to allow for the arching shape).
In fitting pegs, the first step is to cut the end off so when the end is flush with the outside of the peg box, the decorative shoulder will be 1/2" away from the other side of the peg box. A sharp knife cut is first made at the base of the collar so that the tapering scraper tool does not split out the peg collar.
In order to accurately measure the sound post length, and more particularly, the end angles (remember, the wood surfaces the sound post will bear against are curved shapes); I have added an innovation to the commercially available sound post length measuring tool. I put short sound post stock on each end with an oversize hole filled inside with '5-minute' epoxy. The tool is then inserted and raised and locked into position and leveled with the bubble level. After the epoxy ends cure, I remove and measure the exact end angles needed with an angle gage.
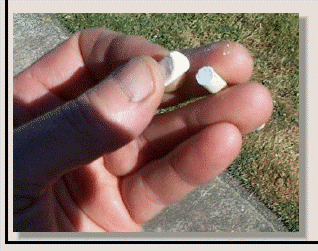
Ordinary white chalk board chalk is rubbed on the ends (to prevent slips) and then the excess is rubbed off on a piece of newpaper and installed with a sound post setter tool.
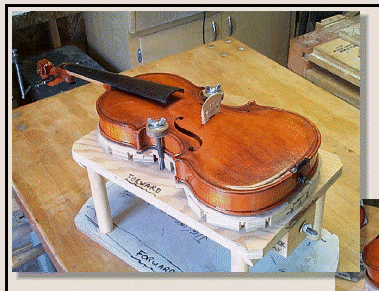
Here the end pin and tail piece and strings have been added. Strings are only lightly tightened so as not to deflect the top plate for sound post fitting next.
Modified 9/2017
Page O16C_79