"Synchronous Resonance" Tool;
For Violin Wood Selection Process...
(Modified 12/2020)
PageTTT_032
..Background: This was my design for an improved tap tone tool. It was hoped that this design would amplify the 'tap on wood' sound to make my job a little easier.
..I must say, it was a complete disaster! Yes, it did amplify the sound; but no mater where on the wooden violin part I tapped, the sound produced was always the same. When you tap on a rectangular piece of violin wood, you should hear a definite and different tap sounds for front, side and end taps. With this tool is produced exactly the SAME tap sound. It puzzled me and I put away in a box for unusable tap tone tools {There were quite a few in the box over the years!}
..In a little bit I will show you exactly how I made it and how it is used to {Hopefully} select well matched violin making wood so that all pieces work well together acoustically...
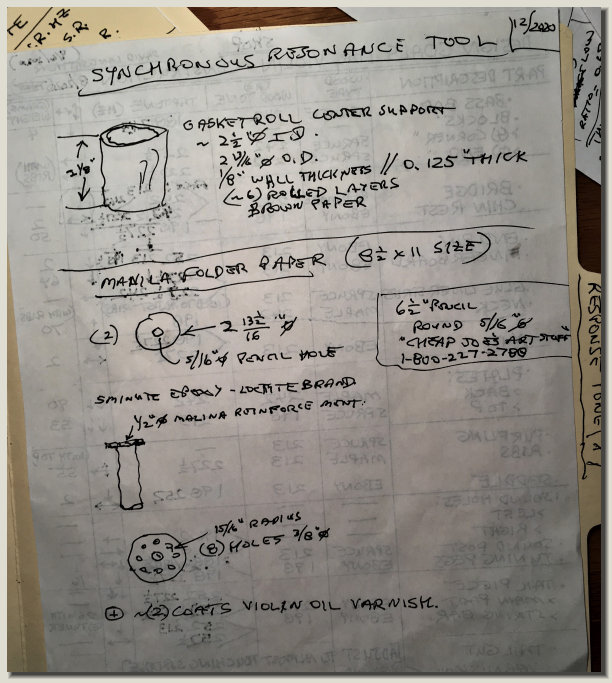
..It is made from an ordinary wooden pencil, some manila folder paper, some 5 minute epoxy, and a short length of the inner paper tube support from a roll of gasket material, and a little violin oil varnish to coat it. Please see measurements below and instructional video for use...
..Besides just the final matching of wood from a grouping of several otherwise perfectly acceptable choices; this tool is also used in the {"wood color" / "warm tone"} rating and also in the important "wood response" measurement rating process.
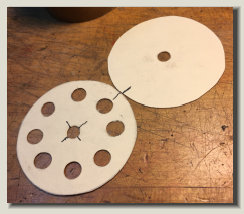
..How the finished tool looks from the top and bottom. Epoxy glue joints clearly shown. Holes are punched out : 5/16" for pencil holes, top and bottom, 3/8" for air holes (on 15/16th " radius) with 1/2" diameter punch out for top reinforcing pad).
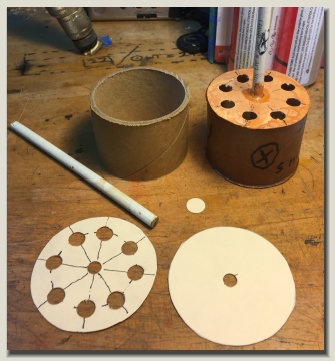
These are all the pieces...
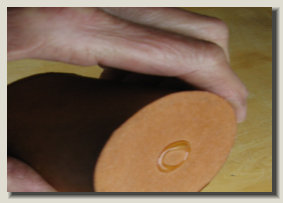
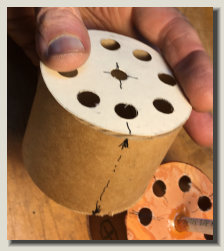
How to hold when using tool...
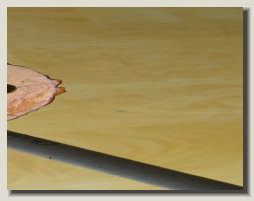
Mark edge alignment of two ends and then punch center pencil hole through both at same time to keep pencil alignment after assembly.
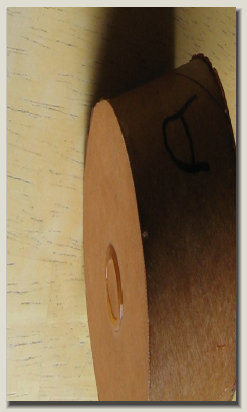
Alignment marks to side line; ready to glue this side on with five minute epoxy glue.
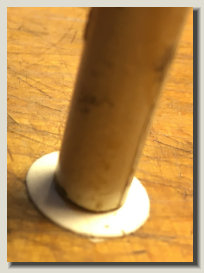
Pre assemble 1/2" reinforcing disc to top of pencil with drop of epoxy glue. Then apply glue to shown surface as you finally glue into body at end.