These are the bottom surfaces after this side has been surfaced to plus 1/16" above the mold surface.
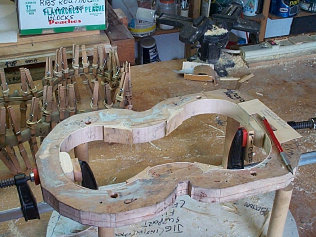
Notice how all clamps and clamping blocks are located below the level of the routers' cut.
..Set the cutter depth individually on both sides to ensure correct rib height after machining.
This is how the mold looks after removing all the clamps. Next we must remove the excess wood on the inside of the four corner blocks and then fit all the glue liner strips.
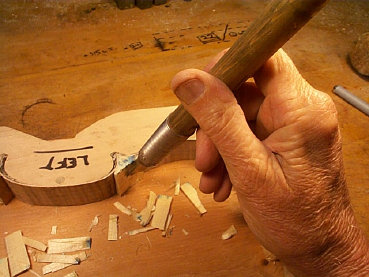
If you are removing wood with the chisel in the correct direction, the cut moves away from the far sides' finished dimension rather than the wood splitting deeper. If the wood grain is going the wrong direction, simply turn the mold over and chisel from the opposite side.
..Leave enough wood for a secure joint with the glue liner strips


 2017")