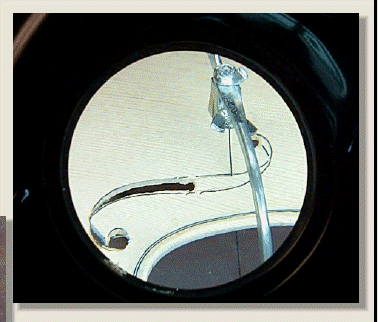
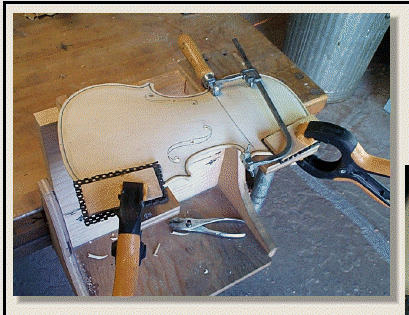
This picture more clearly illustrates the support fixture and tools used.
Remember, the top plate is very delicate and can easily be damaged so use soft (padded) clamp pads.
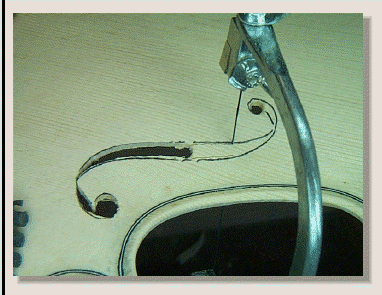
Cut both sides of the pattern in stages, moving in small steps so both sides of the cut reach the center hole about the same time; this keeps the plate wood as ridgid as possible to minimize plate flexing while sawing.
Remember to hold a support stick under the cut when necessary.
View through magnifier light.
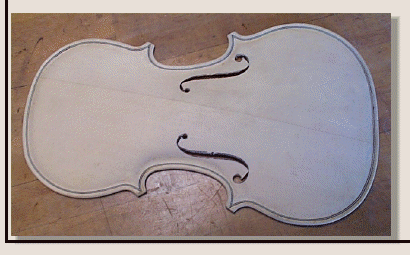
Top violin plate (belly) with the Stradivari shaped 'ff' holes roughed out.
We will finish shaping them with a very sharp (Exacto) knife with a new blade and special sanding sticks.
Modified 9/2017
Page O16C_48
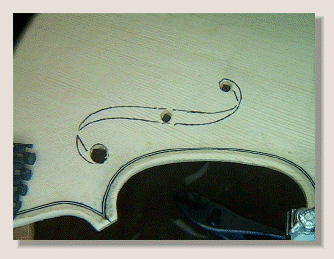
..Orientate "ff" holes so inside straight edge is parallel to centerline of violin.