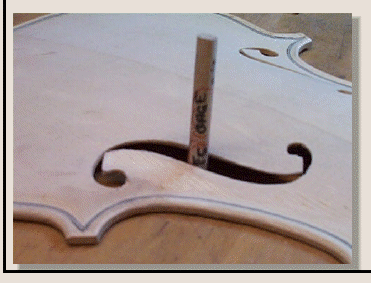
We will finish carving the 'ff' holes with a new blade in our 'Exacto' style hobby knife. ( A new blade for each 'ff' hole is a good idea).
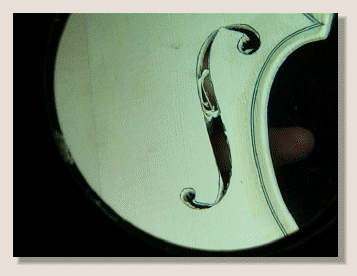
The goal here is to just remove the guide line, developing a pleasing artistic appearance, keep the sides vertical; and to always work with the grain.
On some Italian violins, the inner edge of the 'ff' hole is beveled toward centerline of plate.after the shape is completed. Only carry the bevel to about 1/2 the plate thickness.
Really take your time on this stage as the eye is extremely critical and the tinyest curve change will be seen and corrections will be difficult.
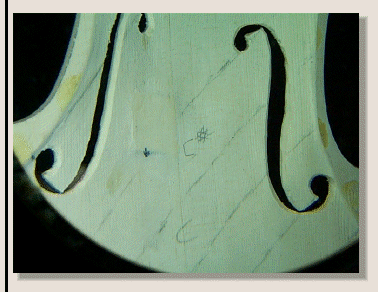
Here a 0.260" sound post is checked against the hole width. This size sound post must be able to pass throught the central area of both 'ff' holes.
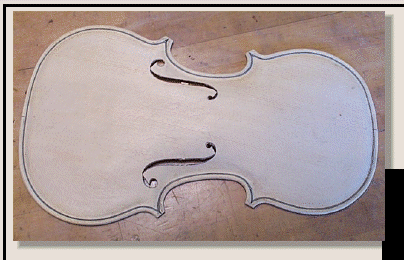
We want both 'ff' holes to be exactly the same size and shape. Hole surface area determines the blow tone which in turn affects overall violin tone.
..See Tap Tone Tuning area to see how to micro adjust after instrument is completed to 198 HZ tonel
Now we are ready to begin finishing the 'ff' holes with a sharp knife.
Modified 9/2017
Page O16C_49