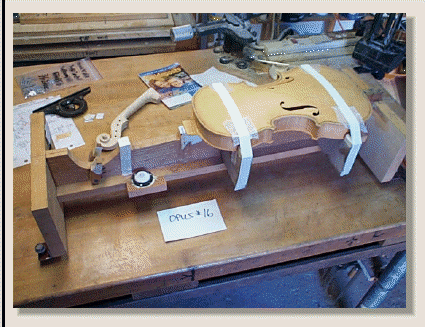
Now our task is to fit the neck to the body of the instrument. It will be glued to the extension of the back plate (the 'button'), and to the neck block, or as I am currently building, to the unaltered rib surface. Some modern 'practice' is to form a dove tail joint so the neck slides into the block tightly.
In order to do this job, the body must be accurately aligned with the new neck.
I have built a neck assembly fixture which centers the body on its center line and provides for positioning the neck for assembly.
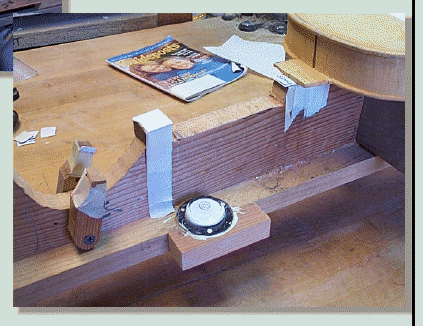
The assembly fixture itself is leveled with movable feet, then the body is supported with shims for level and support.
Finally the neck is put into position using spacers and shims to locate the neck in an ideal position for assembly.
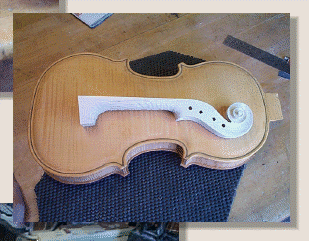
Any one asking why we use stain and / or colored varnish to color our violins need only look at the whiteness of the untreated maple neck wood.
Modified 1/2021
Page O16C_63
..Fit neck so that the line of the bottom of the back plate exactly passes through the eye of the scroll, when glued in place.
..One degree upslope to allow for back side rib taper.
0.597" Thick
0.772" Thick
4 3/8" Width