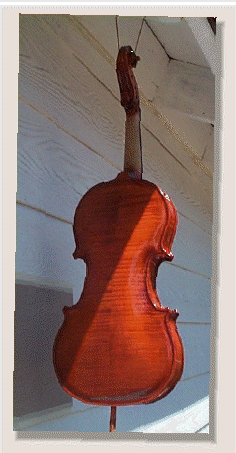
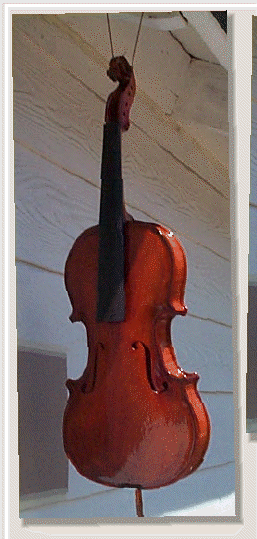
I let the varnished violin hang outside for a few days (turning frequently to even sun exposure).
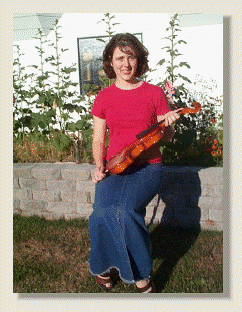
Dinah stopped over to see how the varnish turned out (she was pleased with the outcome).
Soon I I want to begin fitting up the instrument.
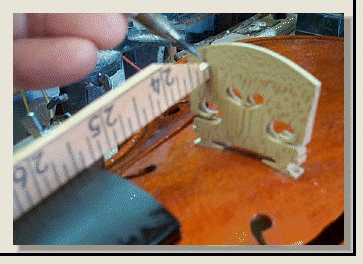
The first step is to fit the bridge feet to the arching contour using a special tool and sandpaper, which is laid on top of the top plate arching to sand the bridge feet. The back of the bridge should be vertical when the body of the violin is held horizontal.
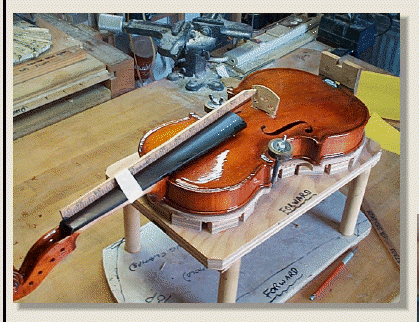
Notice how the bridge feet are shaped. (not too thick)
This straight edge tool is used to mark the approximate top of the bridge arching. One tool is used for marking the 'e' string height and another one for the 'g'.
I then draw an arch between the two points in the shape of the fingerboard. This is the rough shape which I then sand to.
Modified 9/2017
Page O16C_74