In this view, hot violin-making hide glue (full strength) has been applied to both the iinside of the ribs (in the contact area) and the inside of the glue liner strips which are then pushed and wedge-clamped into position, even with the top of the ribs.
This is left to dry overnignt and the next day the two liner strips on the other side are done the same way.
(Pre heat the wood parts to 100* F. to get the strongest glue joint, just prior to gluing)
Installing the glue liners in this manner, with the exterior mold (French) method, ensures that the finsihed rib shape is the same as the measured Stradivarius model violin, used to make the master mold.
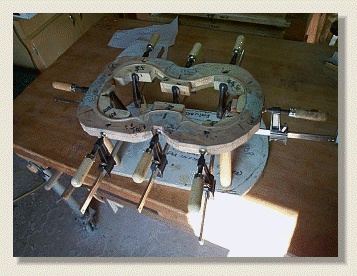
..Here the clamping blocks are in place; ready for the guide rails to be bolted on and finished surfaces be routed flat and true.
Now, the internal clamping blocks are fitted in position with clamps to hold everything in postion.
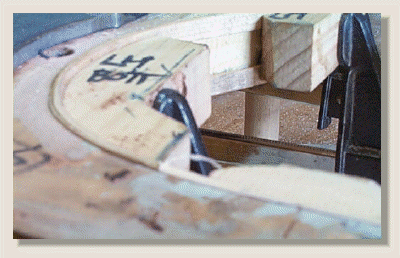
Check to see that the ribs and glue liner strips stick up evenly from the master mold exterior surface on both sides; adjust as necessary.
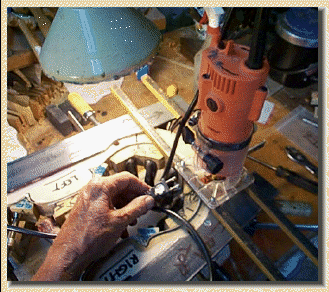
..Machine as before in several steps to prevent damage to final (permanent) glue surfaces.
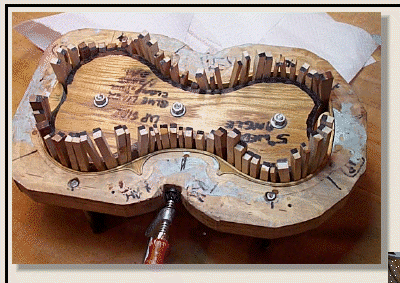
..Machine so that the finished rib heights are:
- 30 mm = 1.182" at the neck block
- ...............1.195" at the upper bout width
- 31 mm = 1.230" at the center bout
- ...............1.242" at the lower bout width
- 32 mm = 1.260" at the lower block end
...for a total taper of 0.079" from back to front of violin
.Take light cuts, finishing with a shallow truing cut...
Machine other side in the same way after turning clamps over one at a time...