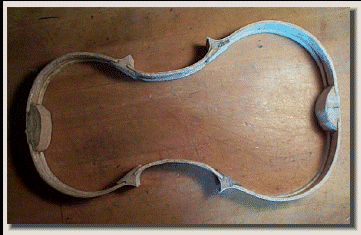
Both sides are routed as described before, except that this time we remove the 1/16" that sticks above the mold surfaces.
Now the rib structure is even with the mold on both sides and perfectly flat and smooth, ready to glue.
Although not readily apparent to the eye, the ribs are shorter near the neck end of the by about 3/32", compared to the rib height at the bottom or pin end. This routing system produces this tapered shape accurately.
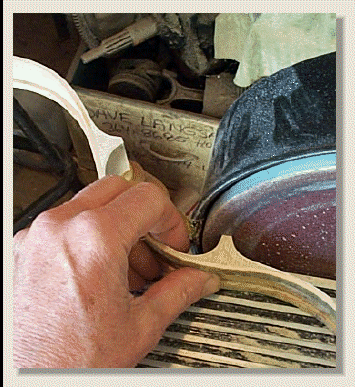
In this view, I am squaring up the 'points' of the corner blocks by sanding, so that they visually pleasing.
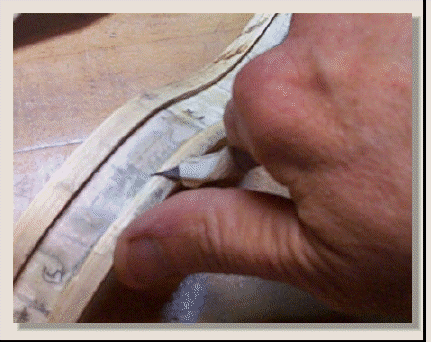
..By flattening the point somewhat, I believe this gives better support to the plates in these important structural areas, a more pleasing appearance, and is also less prone to damage.
..Sanding angles are shown in photo.
The next step is to 'tune' the rib structure to produce an even 198 HZ Tap Tone all over when tapped directly from the side.
..If the side tap is slightly high in an area, then gently sand the inside of the rib until it matches 198 HZ.
..If the side tap is slightly low, then slightly bevel the inside edges of both glue liner strips to raise the side tap tone to 198 HZ. (Be sure to not reduce the width of the glue liner strips at the glue line.)