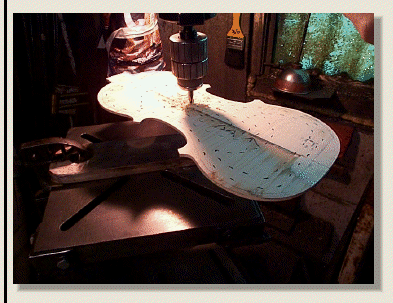
Top plate ready for plate thicknessing {graduating} by removing wood from the inside surface..
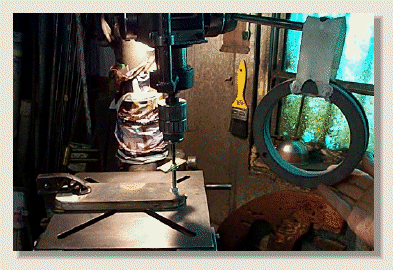
My drill press set up to be used in plate thicknessing drilling.
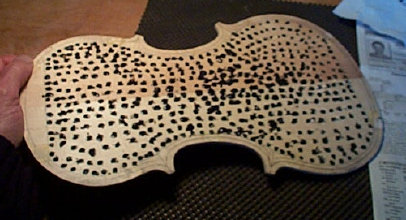
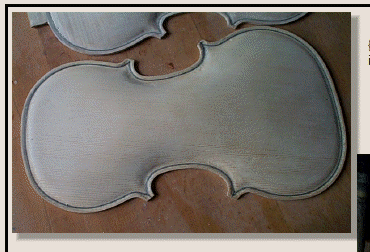
Different areas of the plate will have different thicknesses. To accurately work the plates down to these dimensions, we drill guide holes in the inside surface of the wood, then paint the bottom of the drilled holes, then remove the excess wood down to these guide holes, finally smoothly finishing the wood surface and then tuning the completed plate to: 176 HZ all over for top plate and 198 HZ for the back plate.
Bottom support post (supports underside of the plate against the push of the drilling action).This is padded on top to prevent denting the plate wood {especially the soft top plate Spruce wood.
Weight is hung on drill press arm to help setting drill depth stop accurately.
A special round end (5/32") carbide drill is used to make holes with curved bottoms, which allows for more accurate graduating.
Here I am beginning to drill the 300 or so guide holes in each plate.
Each line or oval shape is at a different wood thickness setting.
I drill the guide holes for the thickest part of the plate first and then the next thickest area and so on after resetting depth of cut for each area.
Modified 10/2017
Page O16C_35