Violin Bridge Adjustment (for best string sound quality)...
(revised 10/ 2020
Page AA_004)
acousticaladjustment048008.gif
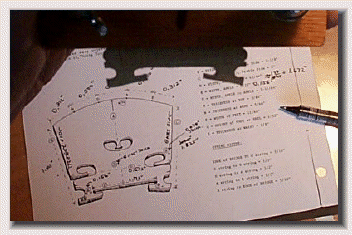
..As the bridge is SO important to the violin sound, we are going to break up this subject into Six steps. These build upon one another. ........So let's get started:
..In order or application:
acousticaladjustment048007.gif
acousticaladjustment048006.gif
acousticaladjustment048005.gif
acousticaladjustment048004.gif
acousticaladjustment048003.gif
acousticaladjustment048002.gif
..First Job is to purchase an appropriate Bridge and fit its feet to the top surface of the top plate; and then to mark and shape the top curve shape.

..Click here for details...
..Secondly, we want to rough cut out the openings to 'close to final shape'.

..Click here for details...
..Third, We want to thin the face of the violin bridge to 'close to final' thickness; Now rough tune all three faces.

..Click here for details...
..Next, the string grooves are marked out, and the acoustical adjustments for best sound begin..
..Then the violin is strung up and the sound post is installed.
..Click here for details...
..The job now is to adjust each string so that each has the same rich sound quality.
..Rules of adjustment for various effects.....

..Click here for details...
..Final acoustical tuning tips for the finished sound....

..Click here for details...
acousticaladjustment048001.gif